
VIDEO TUTORIAL: Managing Formats in Avid Liquid
Nov 10, 2006
Want to intermix different formats in Avid Liquid? Producer/editor Paul Mitton of Creation Trek Productions shows a variety...
Nov 10, 2006
Want to intermix different formats in Avid Liquid? Producer/editor Paul Mitton of Creation Trek Productions shows a variety...
Nov 1, 2006
Matrox is by no means a new name in the industry. With many top-notch products that meet today's industry...
Nov 1, 2006
How many times have you thought while busy shooting a project, "If only I could get a wider field...
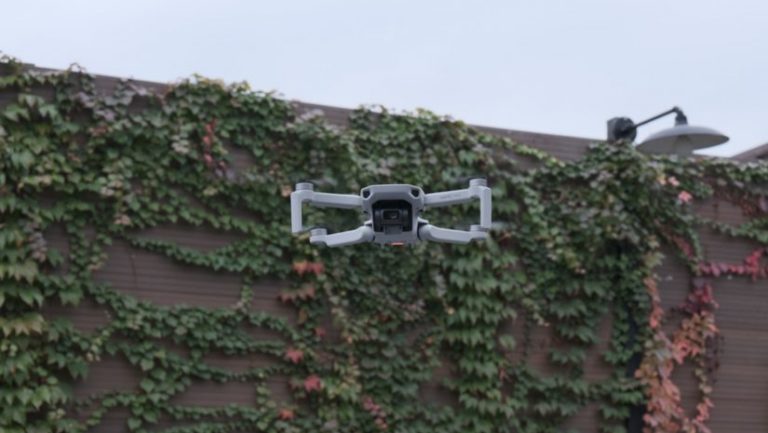
Nov 7, 2019
To help you reach new heights and in order to make your drone flying smaller, lighter, safer, and better,...
Sponsored Content
Nov 1, 2006
Splines in MAXON's Cinema 4D are great to use as paths for Trapcode Particular particles in After Effects to...
Nov 1, 2006
The Convergent Design HD-Connect SI converter box ($995) integrates video, audio, timecode and deck control into a simple-to-use, cost-effective...
Nov 1, 2006
For subgrouping tracks in Logic, there's no need for Aux tracks. A Bus in Logic serves as both a...
Nov 1, 2006
Sometimes it's all about the audio, and only the audio, even for the visual media of film, television and...
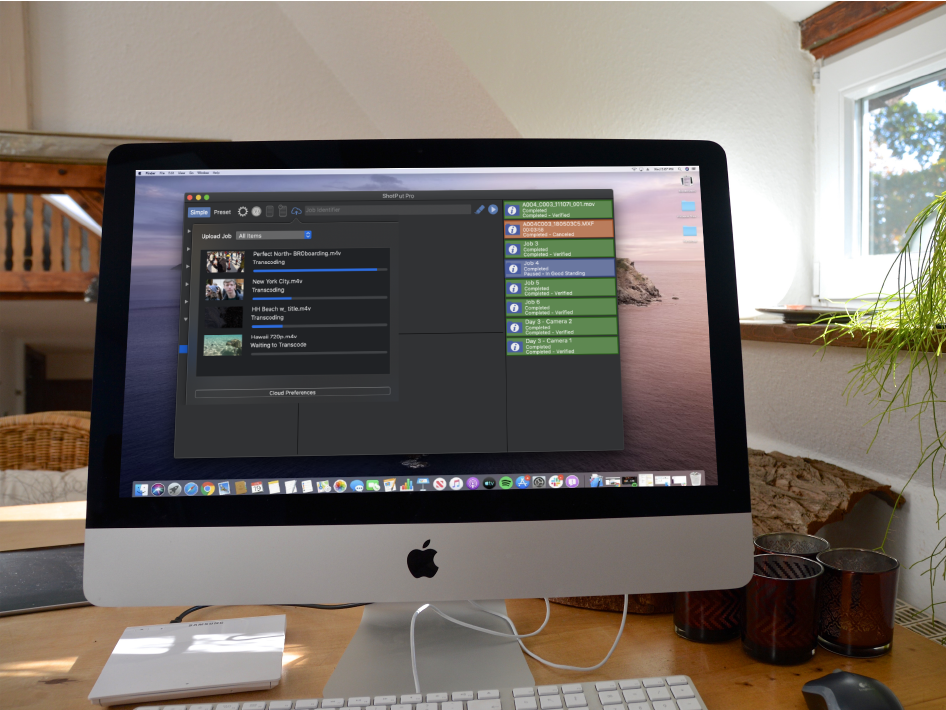
Oct 24, 2019
The most recent release of ShotPut Pro 2019.3, integrates with the popular cloud-based collaboration platform Frame.io. ”Imagine Products’ integration with...
Sponsored Content
Oct 20, 2006
Producer/editor Paul Mitton of Creation Trek Productions demonstrates how to capture video from a camcorder directly into Avid Liquid....
