Say Again? Now HEAR THIS!
No matter how you slice it, audio is 70 percent of the visual experience. You can easily argue that good audio can make a mediocre image "look" better, while poor audio can make the best picture appear worse. There have been countless studies that support this very point.
I recently had the chance to screen a couple of projects submitted to the Sundance Film Festival that didn’t end up making the cut. I believe that in at least one instance, sound/audio was the main reason the film didn’t make it. It certainly had nothing to do with the excellent story, great cinematography, solid acting and engaging edit work. But the audio was terrible. Why?
In an age when we have powerful tools that are low cost, an abundance of informational resources such as Studio/monthly magazine and eager, willing people who’ll work on video projects for peanuts, there’s no excuse for poor audio.
Audio from Bad to Good
Editors and shooters alike are consumed with which codec, camcorder, monitor, plug-ins, lighting and color correction tools they should use in the production and post production of their projects, but how much thought goes into the audio, something that’s going to make or break the quality of the picture?

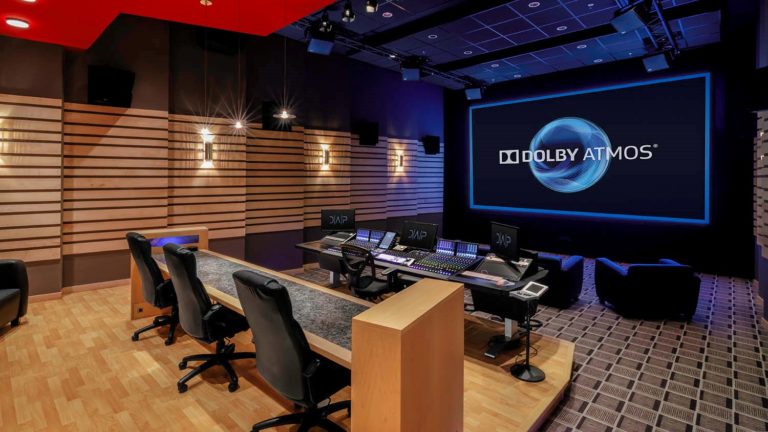
Great audio involves so much more than having a mic on a boom with a boom op wearing headphones. It means quality studio monitors, attention to room acoustics and processing hardware/software to optimize signal quality and output. Many post houses will spend thousands of dollars on a broadcast monitor for color correction, but balk at spending a quarter of that amount for quality audio monitors that don’t come from the local computer store.
Learning the various microphone types and tools and implementing that knowledge can go a long way toward improving audio on a field or studio shoot. For example, while every camcorder advertisement suggests that a shotgun mic should be found on a professional camcorder, shotgun mics, by design, are not for indoor use under most circumstances. Most video producers believe they need the best and latest wireless system in their kits. In truth, a wireless system should only be turned to when cabling poses a hazard to the talent or audience. Wireless systems are not designed for the convenience of the video producer.
The pre-production and production stages are the time to plan and practice great audio. If audio is considered in these two stages, it will be less of a concern in post. Just as you should pre-plan camera angles for a shoot, you should pre-plan mic types and positioning. Carefully spot cable runs and connections, and scout every location to determine if it will cause undesirable noise from air conditioners, trains, traffic or other uncontrollable sounds that will end up being recorded. Also be certain that lighting dimmer systems don’t create humming or buzzing in your audio recordings.
Just as you should pre-plan camera angles for a shoot, you should pre-plan mic types and positioning. Carefully spot cable runs and connections, and scout every location to determine if it will cause undesirable noise from air conditioners, trains, traffic or other uncontrollable sounds that will end up being recorded.
Noise Be Gone!
Noise reduction tools are great for removing some static-frequency noise, but they also reasonably affect variable frequency noises, such as traffic or waterfalls. It’s a much better plan to avoid recording these sorts of audio sources whenever possible.
Focus on peak levels of audio rather than averages. Peaks should be as hot as possible without hitting the 0dB level. Digital audio is all a numbers game; recording low levels with the plan of "fixing it in post" is a lazy and dangerous approach. When low levels are recorded, bits are left on the table, and in the case of compressed audio sources, every bit is needed for best results in post.
Sound libraries should play huge roles in audio post. Whether Foley or sound libraries are used, plan on recording your project as cleanly as possible. Record several minutes of room ambience to insert beneath dialog that’s been cleaned up. Plan on inserting sound moments, such as doors closing, footsteps and moving vehicles, as separate audio files beneath any wild audio or field-recorded dialog. This provides a significant degree of control and allows the mix to present dialog as the primary audio focus. Store your sound libraries on a disk drive set apart for this use, and your sounds will always be available to you.
Post production can be more efficient using tools previously only available to audio editors from plug-in developers like iZotope, WAVES and NewBlue. Not only can these tools examine and suggest compression and equalization settings, they might also allow levels to be maximized for output to standard broadcast levels.
Listen closely to audio in the post suite. Check critical areas with quality headphones. Don’t attempt to mix with headphones on- this is a sure-fire guarantee of a bass-light mix and improper balances of dialog, background music and SFX.
Visual tools have raised the bar on what consumers expect to see on their televisions. Along with those impressive images comes a responsibility on the part of producers to deliver better audio. Listen up out there, everyone else is!


Write Douglas at dse@sundancemediagroup.com
Crafts: Audio
Sections: Business Technology
Did you enjoy this article? Sign up to receive the StudioDaily Fix eletter containing the latest stories, including news, videos, interviews, reviews and more.


Leave a Reply