you shoot them in the field. It takes about five seconds and frees up
space on the P2 card. It also saves you time in the edit bay. When you
know a take’s no good, it’s much more intuitive to just delete it and
be done with it. There’s also no rewinding, fast-forwarding or
performing an end search; you won’t accidentally
tape over footage that you wanted to keep, either. You can also
instantly review prior shots, which makes for a handy and easy way to
check continuity in the field.

put a marker on the icon that represents the clip with the
Shot Mark function. It’s like making a notation of a
"circled take" on a 35mm film shoot. This mark shows up in the camera’s
thumbnail display, as well as on the P2 Viewer
software (but never, of course, in the footage). You set this up
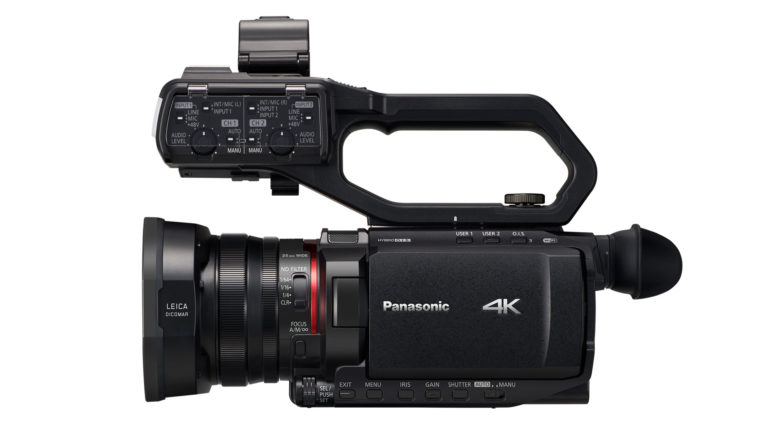
through one of the camera’s three user buttons, located just behind the
LCD viewfinder. You can assign each button with a range of functions,
in addition to shot mark, and then access them instantly.

supports the P2 card natively, such as Avid Xpress Pro HD, Apple Final
Cut Pro 5 and Canopus Edius Broadcast. With these programs you can pull
the card right from the camera, slide it into a
PCMCIA/PC card slot and edit the footage
immediately- no digitizing, no waiting.

drive source and connect it to a laptop in the field via its USB 2.0
port. Use it to download files and initialize cards so you can put the
P2 card back to work in the camera.

card’s transfer rate is so fast you could actually edit up to six
streams of high-def footage right from the card. Use the Shot
Mark function to identify your good clips and start editing,
straight from the card.
Writer/Producer
Fiercely Independent Films
versions of which are available online at
follow-up, The HVX Book/DVD, was released in
February.
to footage. You can really cut down on your editing time if you take a
few specific, simple steps, especially when working on short-form
projects. Think about it: You could have a finished rush before a tape
shooter has even started digitizing his footage.
Las Vegas, NV
ph. 702.302.3456
barry@fiftv.com
Did you enjoy this article? Sign up to receive the StudioDaily Fix eletter containing the latest stories, including news, videos, interviews, reviews and more.


Leave a Reply